ZAGG Invisible Shield Screen Protector Review
We’re all clumsy sometimes. There will be a day when you’re out on the town, getting out of the car, or even right at home, where you fumble your phone. Damaging the screen can cost you hundreds of dollars to replace. An ounce of prevention is worth a pound of cure; enter ZAGG with their Invisible Shield products. Their brand name and marketing hold a significant amount of clout–and a premium price tag to match. At $25, this is the most expensive screen protector I’ve ever bought. Does it hold up to the price?
WHERE I’M COMING FROM
Since the iPhone 3G, I’ve been using mid-range to low-end screen protectors on my devices. I started out grabbing the fancy anti-glare film screen protectors from the Apple Store that were $15 a 3-Pack; for my last phone (the iPhone 6S Plus) I went and got a bunch of clearance BlackWeb glass screen protectors from Wal-Mart for $3 a screen. This experience in applying screen protectors has made me the go-to guy for anyone in my family and friends circle that gets a new device. I’ve applied screens to numerous phones, watches, laptops, and tablets at this point; I wager a guess of 50 different devices. There are plenty of affordable solutions out there that will work just fine for most people.
That being said, I don’t necessarily dismiss the value of premium products either. My latest phone, the iPhone X, got it’s screen protector applied professionally by an Apple Genius. The Belkin Screen Protector I paid $60 for comes with a sheet of glass for the front and back of the phone, and a gizmo at the Apple Store allowed the genius to apply the protector in one swift, fluid and perfect motion. He made it look easy; I was just thankful to have someone else do it for a change. That alone was worth it, but my screens come with a Belkin 5-Year Warranty too. There’s something to be said for premium screens.
ZIG ZAGG ZOOM
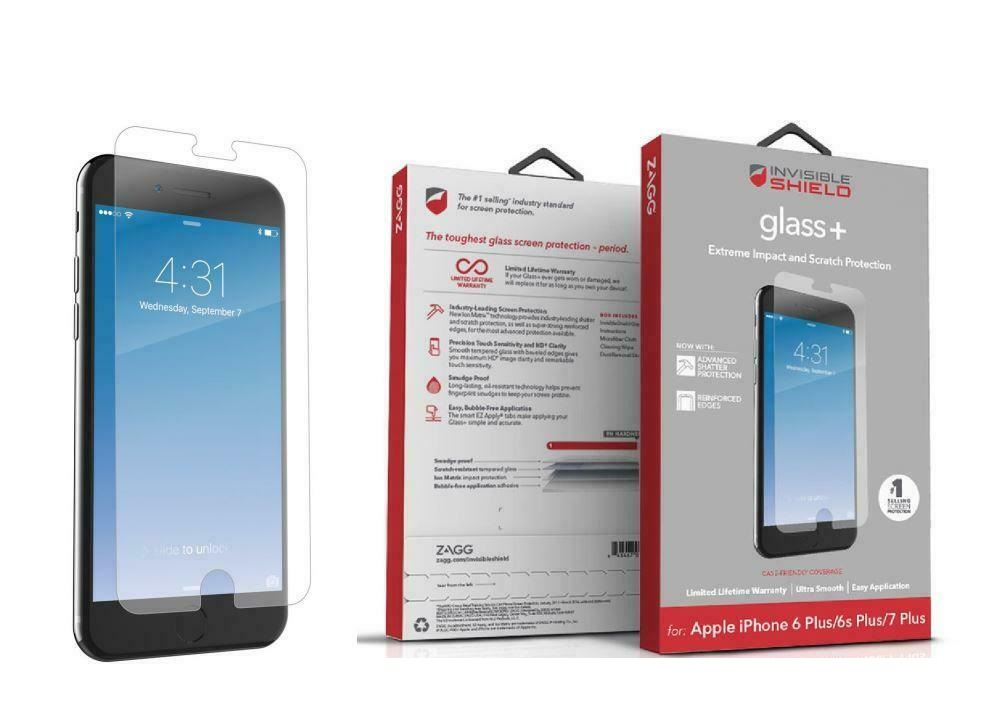
The box is notably sealed from the top to denote and protect the purchaser from would-be tampering at the store. Cutting the small adhesive strip lets you slide the box out to reveal the contents:
- one (1) screen protector
- a black plastic ZAGG branded “squeegee” tool
- a moist towelette with “adhesive activation gel”
- a black microfiber cloth
- instruction card
To install, the user must first remove their existing screen (if any), then wipe the screen down with the microfiber cloth to remove remaining dust, oils and debris. Then, the film that has a tab with the number 1 repeated across it needs to be removed. Once removed, the adhesive side should be placed upwards on a flat surface. The user should then open the towelette and wipe the adhesive side of the protector thoroughly. When sufficiently moistened, use the remaining tabs to flip the screen to the adhesive side down and align with the contours of your device. Use the squeegee to firmly adhere + squeeze out excess liquid and any air bubbles that formed. Then, you should be able to remove the yellow protective film and be on your way.
INSTALLATION REVIEW
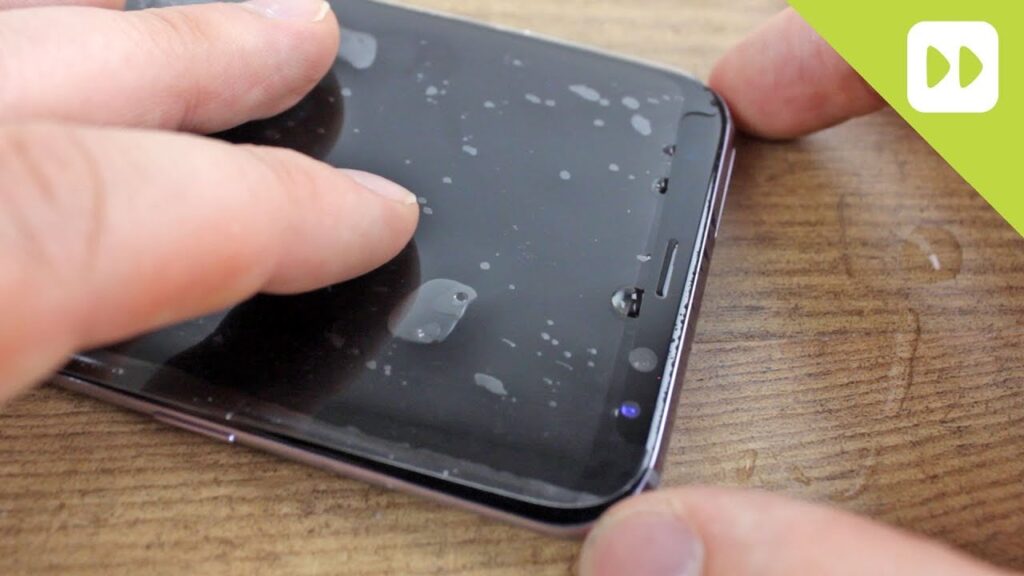
The experience was a 4/10. The instructions mention that you squeegee after you’ve aligned in full. I tried this method, but there were so many micro bubbles that I figured peeling back, aligning, then squeegeeing to hold the alignment in place was a very effective way to quickly eliminate bubbles. If you’re having this problem yourself, lift up and try again. These problems are mitigated by other manufacturers methods of alignment; often involving plastic trays you drop the phone into for a “no goofs” foolproof method of alignment.
My first Invisible Shield products used a spray bottle of the adhesive gel instead of a wipe; I would recommend ZAGG go back to that, even though production costs are most definitely lower with the towelette. There isn’t much clearance on the film when applying the gel, so I found that any debris I wiped off that ended up on the table, ended up on my towelette, which in turn ended up under the screen protector. Needless to say, the spray bottle was more effective in thoroughly dousing the adhesive, reducing dust, and less bubble formation.
Finally, when trying to remove the second set of tabs, I couldn’t get them to go. The yellow film wants so desperately to hold onto the InvisibleShield that I can’t pull the film without pulling the protector. The protector would then peel off, causing me to scramble to find the squeegee to quickly reapply and reduce air bubbles. The instruction card does not give a reference time for how long this takes to cure, so I will leave it overnight in hopes that it will be ready to go in the morning.
FINAL VERDICT
I give the ZAGG a 5/10. It has the potential to be a nice screen-saving solution, but falters in installation compared to competing screen protector technology. The company should reconsider including a spray bottle in their packaging, and hopefully make the final film removal much easier.
Alternatives I Would Recommend You Buy Instead:
- onn. Glass Screen Protector
- https://www.walmart.com/ip/onn-Glass-Screen-Protector-for-iPhone-6-7-8/173592280
- LK Tempered Glass Film Protector
- https://www.amazon.com/LK-DoubleDefence-Technology-Installation-Replacement/dp/B07BF8QRRM/ref=sr_1_4?dchild=1&keywords=lk+film+screen+protector+iphone+7+plus&qid=1600148305&sr=8-4
- Belkin ScreenForce Tempered Glass Protector
- https://www.target.com/p/belkin-apple-iphone-screenforce-temperedglass-screen-protector/-/A-79834385?preselect=52333636#lnk=sametab